PrisMan 3D is a powerful mobile tool for modeling and animating in 3D. In this tutorial, we’ll go step by step through three exciting beginner-friendly projects:
- Modeling a simple table
- Animating a camera
- Adding and customizing lights
By the end, you’ll have a realistic scene with a table, camera movement, and lighting effects.
Part 1: Modeling a Simple Table
Let’s start with the basics—building a 3D table.
Step 1: Add the Base
- From the Preset menu, import a Cube.
- Move it slightly above the grid lines.
- Use the Scale Tool to flatten and reshape the cube until it looks like a tabletop.
Step 2: Add Details to the Tabletop
- Switch to the Face Tool.
- Select a face of the cube.
- Tap on Extrude, pull the face outward, then push it back in slightly.
- Use the Scale Tool to adjust the edges for a more table-like look.
- Repeat the extrusion process to add a beveled edge.
Step 3: Create the Legs
- Switch to the Line Tool.
- Use the Face Cut Tool to draw lines along two edges of the cube.
- Select the new faces using Multi-Select (tap and hold to select multiple faces).
- Tap Extrude to pull the faces downward into legs.
Step 4: Apply Materials
- Switch back to Object Mode.
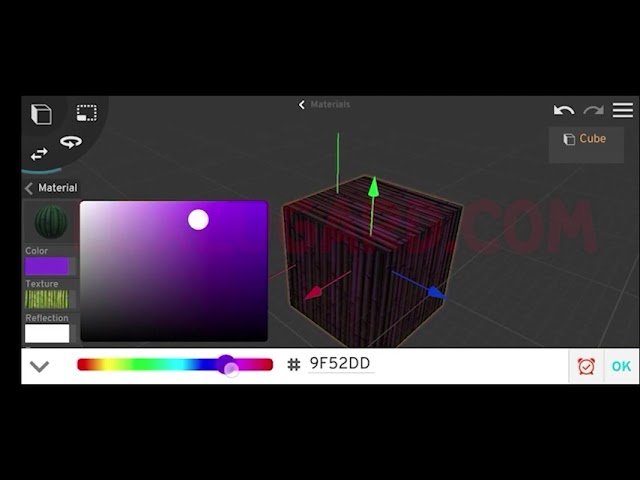
- Tap the Texture icon and upload a wood texture from your gallery.
- Adjust the look using the Color Panel and enhance it with Reflection settings for realism.
Step 5: Save Your Project
- Tap the three horizontal lines (top-right).
- Select Save, give your project a name, and store your first model. 🎉
Part 2: Getting Started with Camera Animation
Once you have your table, it’s time to bring the scene to life with camera movement.
Step 1: Add Text and a Camera
- From the Preset Menu, add some text as a reference object.
- Tap the Camera icon to insert a camera into the scene.
👉 Cameras have a special option: Jump In/Out of Camera View, letting you animate either from inside the camera’s perspective or from outside controlling it with tools.
Animating from Inside the Camera View
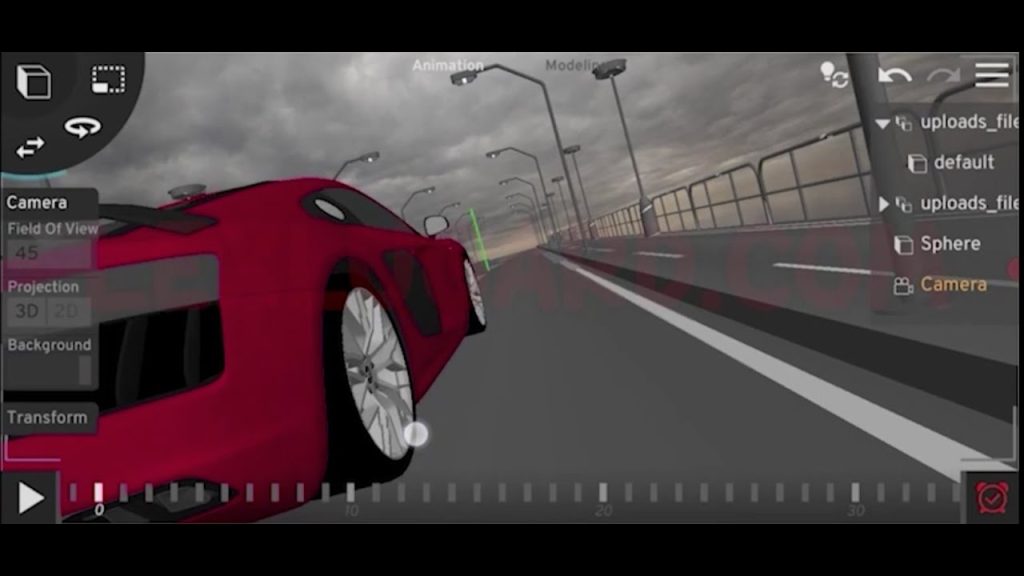
- Switch to Animation Mode.
- On the timeline, tap 0 to set the starting frame.
- Adjust the camera slightly, then tap the red clock icon (bottom-right) to create a keyframe.
- Scroll forward on the timeline to 100, move the camera closer to the text, and set another keyframe.
- Tap Play (bottom-left) to preview your animation.
👉 The distance between keyframes affects speed:
- Farther apart = slower animation.
- Closer together = faster animation.
Animating from Outside the Camera View
- Insert a camera (it starts outside view by default).
- Use the Move Tool to set its starting position at frame 0.
- Create a keyframe with the red clock.
- Jump to frame 100, move the camera upward with the Move Tool, and set another keyframe.
- Preview the animation.
This method is great for controlling the camera from a director’s perspective.
Multi-Directional Camera Animations
Want the camera to move in more than one direction?
- Add a new keyframe at frame 200.
- Move the camera sideways across the text.
- Now when you play the animation, the camera follows a path with multiple stops.
Using Multiple Cameras
You can add more than one camera to capture different angles.
- Insert a second camera.
- Animate it separately on the timeline.
- Switch between cameras in the Object Tab (top-right).
- Rename cameras to stay organized.
💡 Tip: Hide a camera from another camera’s view using the Hide button.
Part 3: Adding Lights to Your Scene
Lighting is key to realism. Let’s brighten up our table scene.
Step 1: Add a Floor
- From the Preset menu, add a Plane.
- Scale it up to act as the floor.
- Apply a texture (wood, tile, or stone).
Step 2: Switch to Night Mode
- Tap the three horizontal lines (top-right).
- Go to Render → Lighting → Night Mode.
- This darkens the scene so added lights are visible.
Step 3: Add Light Sources
- From the Preset menu, tap the Light icon.
- By default, it spawns as a Point Light.
- Move and adjust it using the Move Tool.
Light settings you can tweak:
- Color → change the mood of the scene.
- Intensity → brightness of the light.
- Range → how far the light spreads.
- Shadow → control shadow depth.
Types of Lights in PrisMan 3D
- Point Light → like a bulb, best for small/local lighting.
- Sunlight → mimics the sun, ideal for outdoor scenes (control with Rotate Tool).
- Spotlight → focuses on a specific area, great for dramatic effects.
👉 You can duplicate lights, add multiple light types, and experiment until your scene feels just right.
Final Thoughts
In this tutorial, we:
✅ Modeled a table from a cube.
✅ Animated a camera to create cinematic movement.
✅ Added lights for realism.
With these skills, you now have the foundation to create your own stunning 3D scenes right from your phone using PrisMan 3D. The more you practice, the more detailed and realistic your projects will become.
So go ahead—import that cube, add some lights, and start animating your very own 3D world. 🚀

